

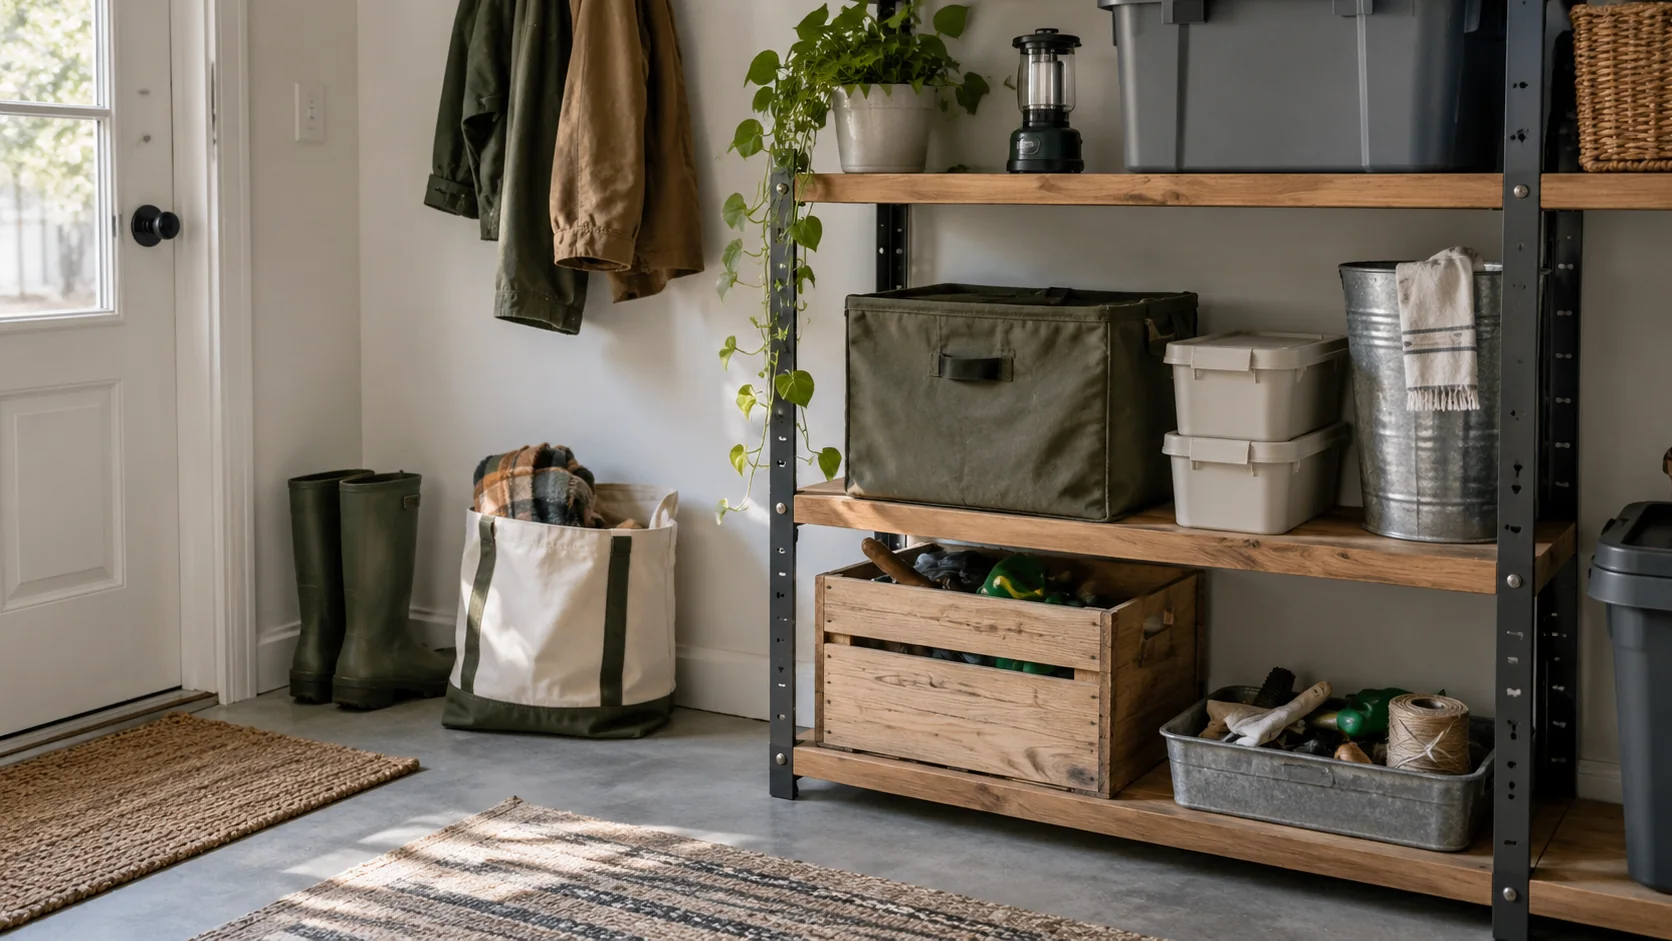
Choose a storage bin around the task it needs to support, not around the largest capacity on the shelf. The useful bin is one that the intended person can identify, open, carry, and return without hiding an expiration date, a moisture limit, or a hazard. Start by naming the supplies that belong together, then check the exact bin's opening, material, lid, load limits, storage conditions, and label space. A gasket or a product claim can address one condition, but no ordinary storage bin protects every item in every place.
Start with the task and the people who use it
Before measuring a shelf, decide what the bin is meant to make easier. A lighting bin might hold flashlights, spare batteries, and a written note about which lights use which batteries. A communication bin could hold a hand-crank radio, charging cables, paper contacts, and a small pencil. A pet-care bin might keep food instructions, a leash, waste bags, and a copy of the animal's records together. Documents may need a different location and a different level of privacy than household tools.
Grouping by use helps someone act without opening several boxes. It also keeps one large container from becoming a mixed pile that only one person knows how to sort. If a supply is needed quickly, place it where the intended user can reach it and at a weight they can manage. A container that saves shelf space but cannot be moved by that person is not serving the task.
Make access part of the choice from the beginning. Consider who may need the contents when the usual organizer is away, tired, injured, or helping someone else. Large type, a high-contrast label, a simple color system, or a tactile marker may help. These features still need a trial with the household member who will use them. The household plan someone-else test can help you check whether another person can understand the labels and handoff without a private explanation.
Compare the opening, size, and shape
Capacity on the outside of a bin does not tell you how easy it is to use. Measure the usable interior if the supplies have an awkward shape, and look at the opening rather than only the length and width. A narrow opening can make it hard to see small items at the bottom. A deep box may be a poor fit for supplies that need frequent inspection. A low tray or a smaller bin can keep a condition visible and reduce the amount of lifting required.
Think about how the bin will be removed. Handles can help, but they do not make a heavy load manageable. Wheels may help on a level surface and still be unhelpful on stairs, a thick rug, or a narrow hallway. An empty container also has a weight, and a lid or latch can add force that some users cannot comfortably apply. Test the complete combination of bin and contents, not just the empty box.
Shape matters when you are using limited storage space. Several small bins may fit around a water container, utility panel, or low shelf more safely than one tall tote. Leave room to read a label and remove a bin without pulling down the one above it. Keep exits, vents, electrical panels, water shutoffs, and accessible paths clear. A neatly stacked wall of containers can still create an obstruction or a falling-object hazard.
Check the material and the exact lid or seal
A product's material, cleaning instructions, and stated use should fit the contents. Do not place food, medicine, water, batteries, or animal supplies in a bin until you have checked that the material, cleanliness, temperature, and moisture conditions suit that use. A general storage bin is not automatically food-grade, a drinking-water container, or a medication container. The comparison of household water containers explains why an organizing bin and a container intended for drinking water belong to separate decisions. The CDC's emergency-water guidance also treats water storage as a specific task with its own conditions.
Lids solve different problems. A hinged or latching lid may keep items together and make the box easy to close. A gasket can reduce dust or moisture entry under the product's stated conditions. Neither feature removes the need to inspect the contents or proves that the box can withstand flooding, condensation, heat, impact, or a chemical spill. Read the exact product information and match its claim to the location and the items inside.
Product examples show why model details matter. Sterilite's 18-gallon Latching Tuff1 Tote page lists polyethylene construction, latches, a recessed lid, cold and impact resistance, and a direction to keep the heaviest bin at the bottom. Its 20-gallon Gasket Tote page describes an IP68 claim and also tells users to use judgment when stacking and to keep the heaviest bin at the bottom. Those are statements about the named products, not a general rule for every tote. See the 18 Gal. Latching Tuff1 Tote and 20 Gal. Gasket Tote pages for the specifications that apply to those models.
IRIS USA's WeatherPro 44T Gasket Box page lists a 50 lb maximum weight capacity, dimensions, latches, and a storage seal claim. The 50 lb figure is a model-specific maximum, not a safe target for every household or every shelf. Read the WeatherPro 44T Gasket Box specifications before relying on that product detail, and do not transfer its load, seal, or temperature information to another box.
Keep labels and conditions visible
Put a short contents label on the outside where it can be read without moving the bin. Add a simple list inside for small parts or supplies that are easy to confuse. Include a last-review date when the contents include food, water, medicine, batteries, or equipment. If the bin contains items with different storage limits, put the limiting condition on the outside. A label such as “keep cool and dry” is more useful when it identifies which contents need that condition and where the bin should go.
Do not let a clear lid do all the work. Plastic can become cloudy, the lid may be covered by another bin, and small print can be hard to read. Use a label size and contrast that fit the person who will use it. A color can support a label, but it should not be the only way to identify a box if someone in the household has limited color vision. A tactile mark or raised letter may help with a low-light or no-power situation, provided the intended user recognizes it.
Privacy can matter as much as visibility. A document bin may need an outside label that says “household records” without listing sensitive details. Medicines, mobility supplies, or personal-care items may need a location that is discreet but still reachable by the person who relies on them. Decide what another helper needs to know and what does not belong on a public-facing label. A contents list inside the bin can provide detail without placing it on the outside.
Hazards should never be hidden inside an organizing system. Keep fuels, pesticides, cleaners, and other hazardous chemicals separate from food, animal feed, medicine, and drinking water. EPA's pesticide storage guidance says to keep pesticides away from food, animal feed, and medical supplies and away from flood-prone areas. Follow the exact product label and local hazardous-waste instructions for storage and disposal. Do not place a chemical tote beside a food bin simply because both fit on the same shelf.
Plan for weight, stacking, and location
Read the stated load and stacking limits for the exact model. If the product information does not match the way you plan to use the bin, choose a different arrangement rather than guessing. Put heavy containers low, and do not stack where a bin or lid could fall onto a person, pet, doorway, or work area. A shelf, closet rod, or garage rack has its own limits that may be lower than the container's capacity.
Moisture and temperature are location questions as well as product questions. A gasket may reduce moisture entry in a defined test, but it does not make a flood-prone floor a suitable storage site. Condensation, heat, pests, leaks, and sunlight can affect contents even when a lid is closed. Match the product's stated conditions to the storage place, and follow the storage directions for each item.
The same location may not work for every category. Water and food may need conditions that differ from batteries or paper records. A pet-care container should stay reachable if the animal has to leave quickly, while a document container may need protection from casual access. Keep the plan visible enough for a helper to understand without placing private details where visitors can see them.
Make accessibility a real test
Accessibility is not a feature you can infer from a product photo. Test the lid force, latch, handles, wheels, label size, shelf height, reach, and carrying weight with the person who will use the bin. Include the movement that the task requires: pulling a box from a low shelf, opening it while seated, carrying it a short distance, or returning it after use. ADA.gov's emergency-planning guidance emphasizes planning around the needs of people with disabilities. A household can apply that principle to ordinary storage by asking the user what works before assigning a location.
Use smaller bins or open trays when a large container would create an unsafe load or hide an important condition. A tray can keep frequently used supplies visible. Several light boxes can let different people reach their own items without lifting a shared tote. If pets rely on the supplies, keep the container reachable for the person caring for them and keep animal food or medicine separate from chemicals.
Review the bin, not only the inventory
Storage changes when contents are used, a household member's reach changes, a room gets hot, or a leak moves the bin. Keep the outside list current and record the last review. Look for cracked walls, warped lids, damaged latches, moisture, pests, stains, and labels that no longer match the contents. After flooding, a leak, unusual heat, pests, or a move, inspect the container and every item before returning it to storage. Remove damaged containers and follow the product and local disposal instructions.
The monthly household readiness check can give this review a regular place in the household routine. When dates, batteries, food, water, or equipment are involved, rotating household supplies keeps ordinary items in use and helps expose a hidden condition before it becomes a surprise. A review is also a chance to ask whether the bin still belongs near the person who needs it.
Frequently asked questions
Does a gasket make a storage bin waterproof?
No general statement applies to every gasket bin. Match the exact product's seal claim and test conditions to the location, contents, and exposure you expect, and inspect the contents over time.
Can I use a storage tote for drinking water?
Do not assume that a general storage tote is suitable for drinking water. Use a container approved for the exact purpose and follow the water, container, cleaning, and storage instructions that apply to it.
How heavy should a preparedness bin be?
Use the exact model's stated load limit, then choose a weight the intended user can lift or move safely. A limit printed by the manufacturer does not account for a person's reach, balance, stairs, or the strength of the shelf holding the bin.
Should hazardous chemicals go in the same organized area as food?
Keep fuels, pesticides, cleaners, and other hazardous chemicals separate from food, animal feed, medicine, and drinking water. Follow the chemical's label and local hazardous-waste guidance for the storage location and disposal.
What should I put on a bin label?
Use a readable category, a short contents list, and a last-review date when the items can expire or need inspection. Add a storage condition or handling warning when it changes where the bin can go, and keep sensitive details off an outside label when privacy matters.
Make the next check
Choose one bin that you already use or plan to buy. Write down its task, the person who needs it, the outside label, the opening and carrying test, the exact load and storage limits, and any condition that must stay visible. Place it where that person can reach it without blocking a path, separate any hazardous material, and set a date to inspect the bin again. Organized storage has done its job when the supplies are findable, their limits are visible, and the household can use them without asking one person to remember what the labels should have said.